Guides / Match situations

From the reading room

Read these as match situations, not fixed recipes. Who is alive, which abilities are ready and where the objective sits can change the right decision.

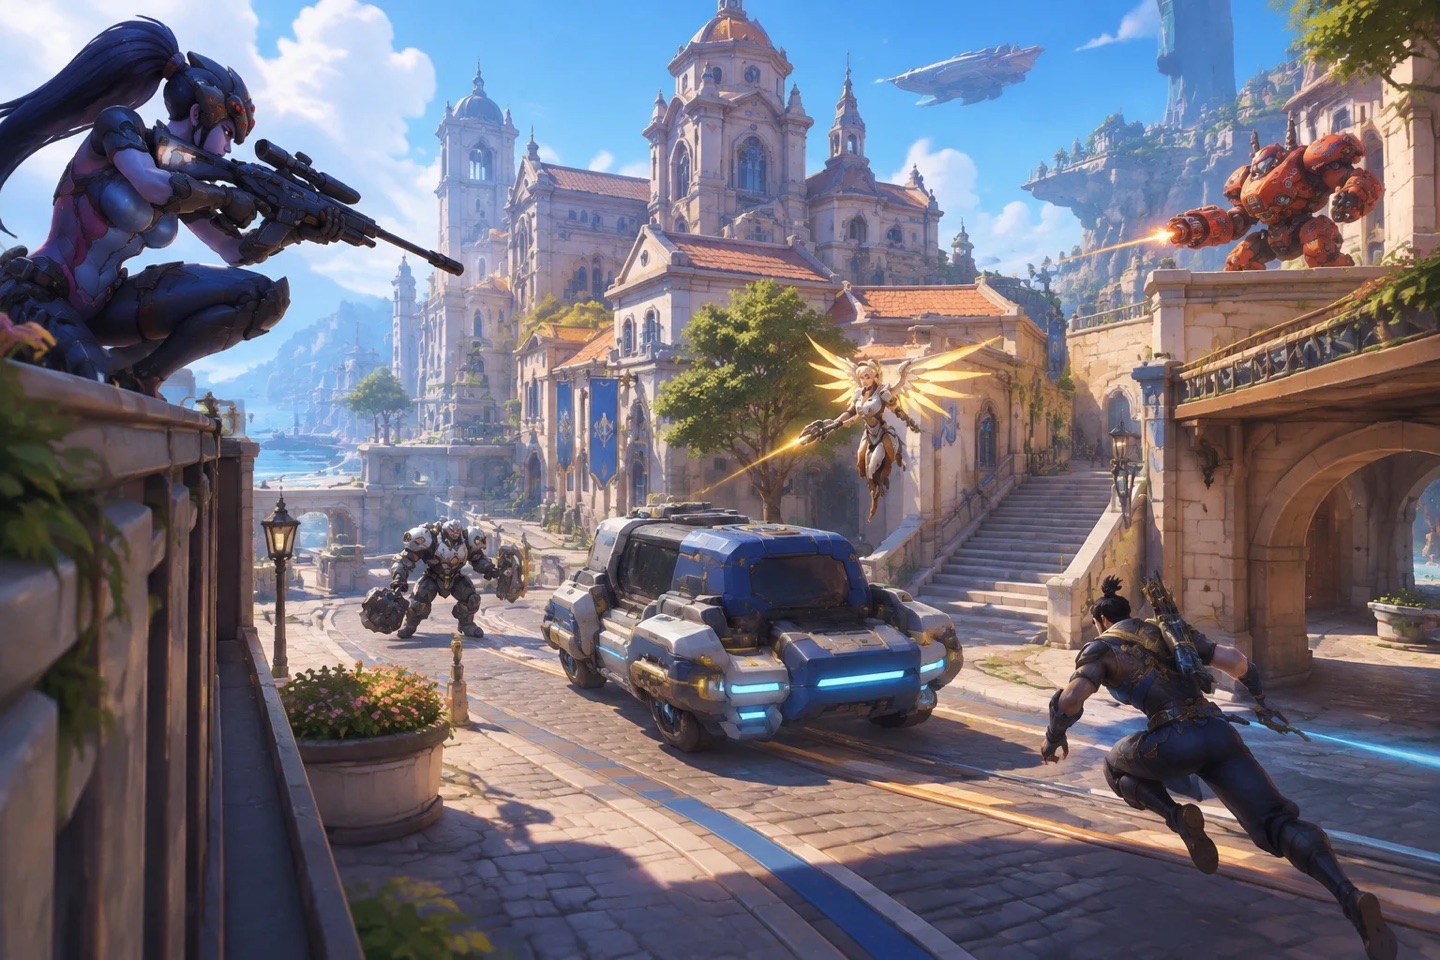
Original fan artwork accompanying the ana guide

Guide 1 / Ability decisions

Ana and the value of a held cooldown

Give your team another chance to act. Choose a position that lets you see the fight.

The cooldown has a job

Sleep Dart is easier to waste when you have not decided what it is for. Read the approach: an aggressive tank, a flanker and an ultimate may each create a different reason to keep or use it.

The map changes the follow-up

A sleeping enemy behind hostile sightlines may be safer to leave alone. Use the brief change in pressure to reach a corner or reconnect with your team instead of treating every hit as an invitation to chase.

Take this to a checkpoint

Keep track of one dart that gave the team time to move. Ask what became possible because the threat stopped, even if nobody earned an elimination.

Reference: Official Ana kit
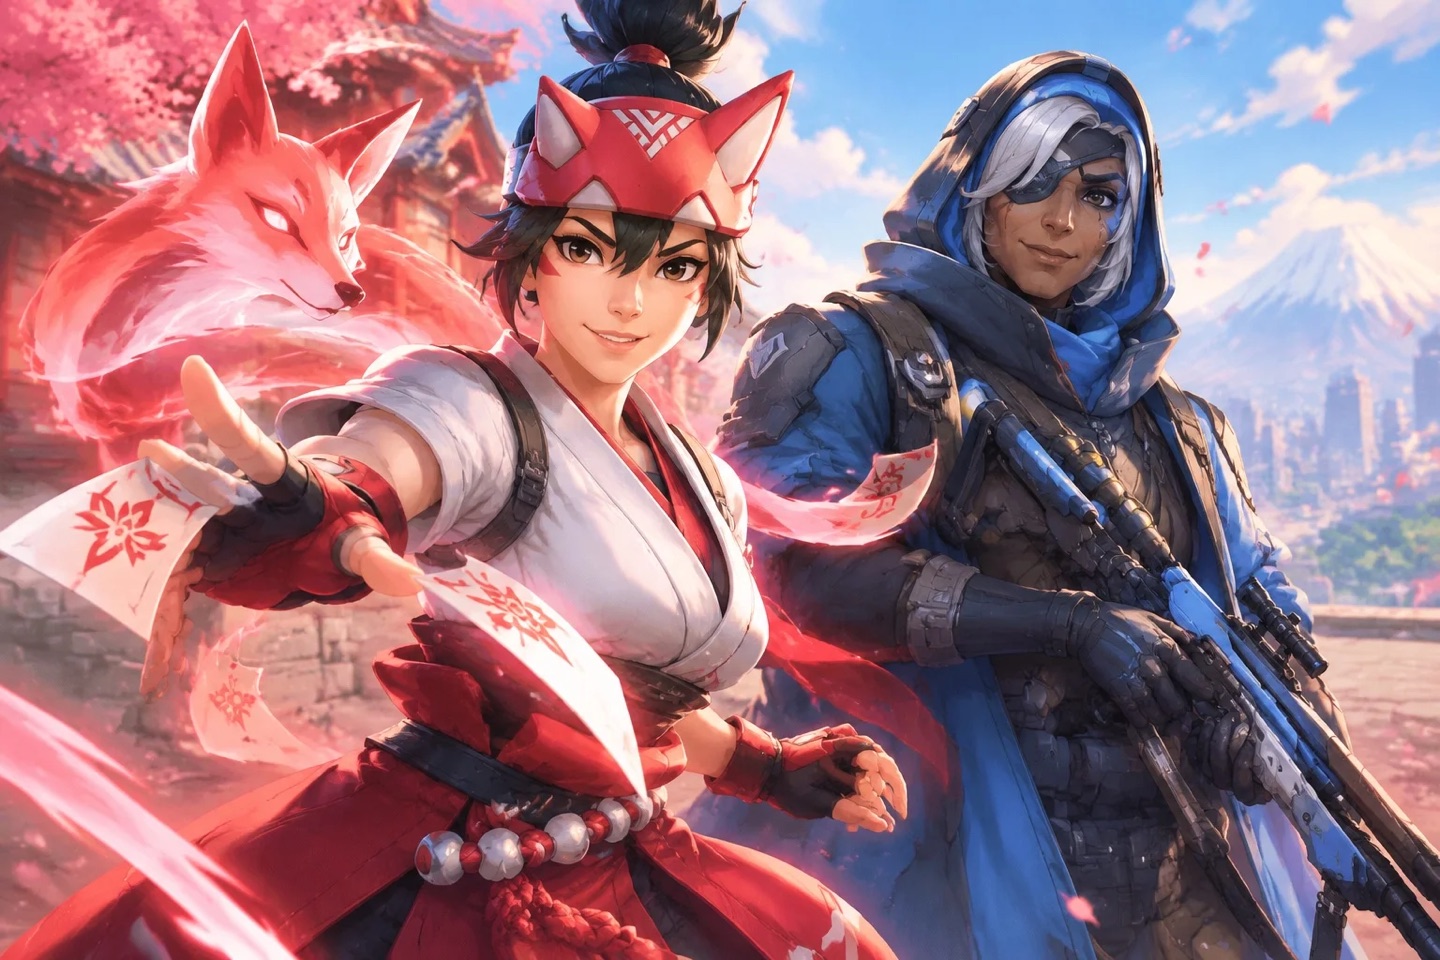
Original fan artwork accompanying the kiriko guide

Guide 2 / Ability decisions

Kiriko: reading the threat before the cleanse

Give your team another chance to act. Choose a position that lets you see the fight.

Read the event, not only the health bar

A cleanse or a short protective window matters most when it answers the actual danger. Look for an effect the team cannot simply walk away from, while keeping the current fight in view.

A landing point is part of the save

Reaching an ally changes Kiriko’s position as well as theirs. If that place has no cover and no connection to the team, the next second can undo the protection you just provided.

Take this to a checkpoint

Before a busy fight, identify which ally offers a safe view of the objective. Use that awareness to plan the position after a rescue, not just the route into it.

Reference: Official Kiriko kit

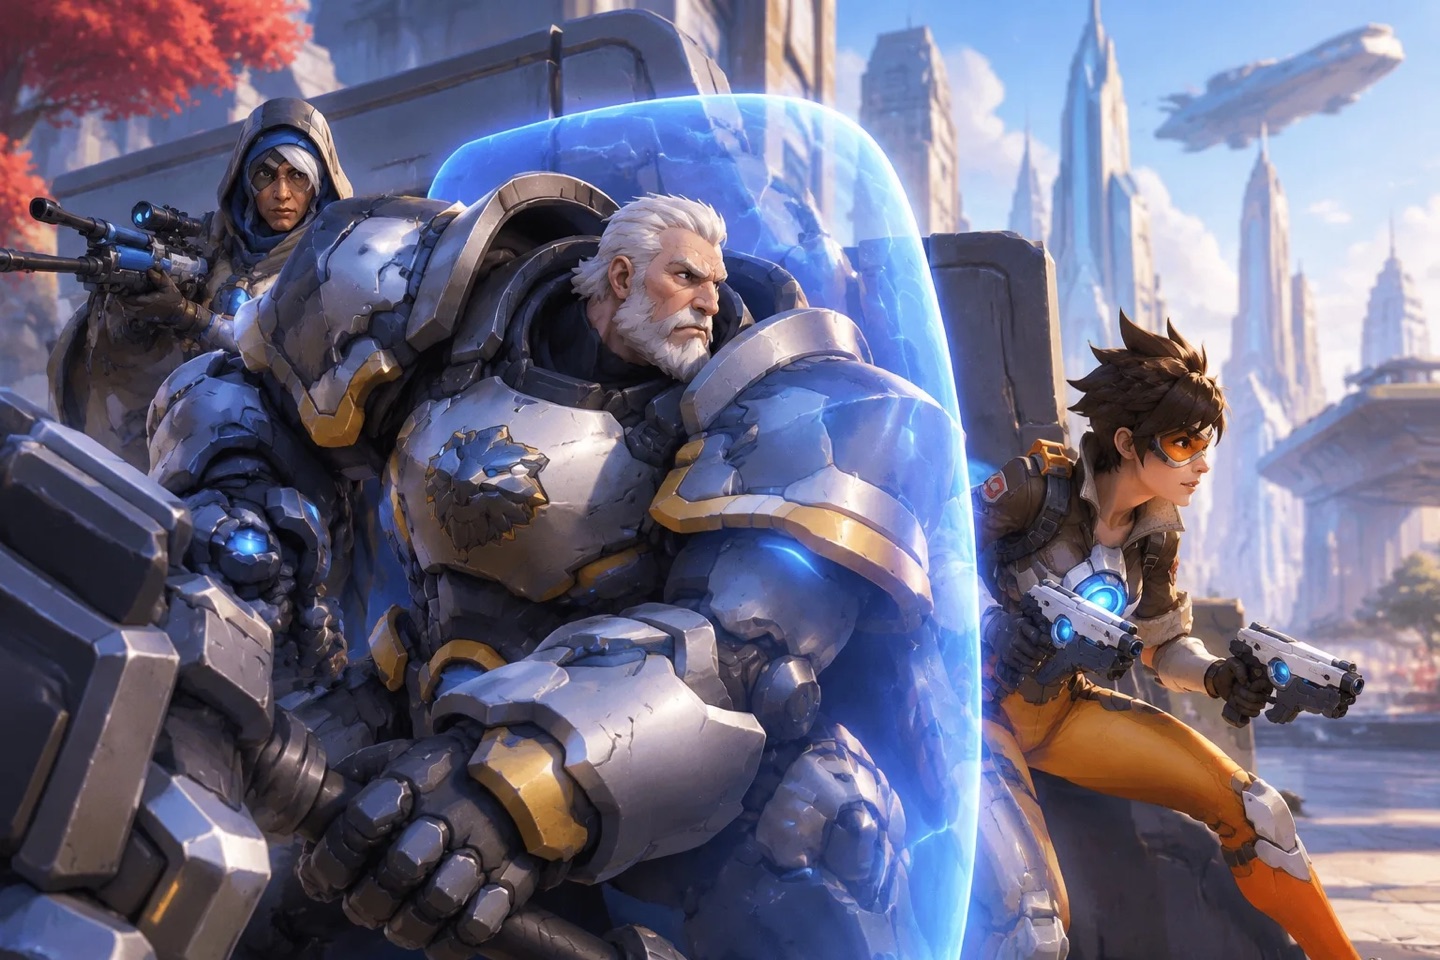
Original fan artwork accompanying the escort guide

Guide 3 / Map awareness

The escort corner you should walk first

Connect the team to the space it needs. A shield cannot repair a split approach.

Look beyond the front bumper

The escort route bends through useful pieces of cover. Before entering a new stretch, find the doorway or ledge that can let your team apply pressure without standing in the centre of the lane.

Space and cart progress are related

Somebody may need to move ahead while another player stays near the objective. The useful arrangement depends on the live fight. Keep those players within a team plan rather than sending them on separate errands.

Take this to a checkpoint

Choose a corner before the enemy makes you choose one in a hurry. After the exchange, check whether the route kept you within sight of teammates who could help.

Reference: Official game information